使用 Zola 和 Github Pages 搭建网站
终于,我把个人网站和博客搭建起来了。使用 Zola 作为静态网站生成器搭建个人网站和博客,并使用 Github Actions 部署到 Github Pages。
Zola 是一个用 Rust 编写的静态网站生成器,使用动态模板将 Markdown 格式的内容转换为静态 HTML 页面。使用 Github Actions 部署到 Github Pages 是 GitHub 上个月刚刚发布的新功能。
新建 Github 仓库
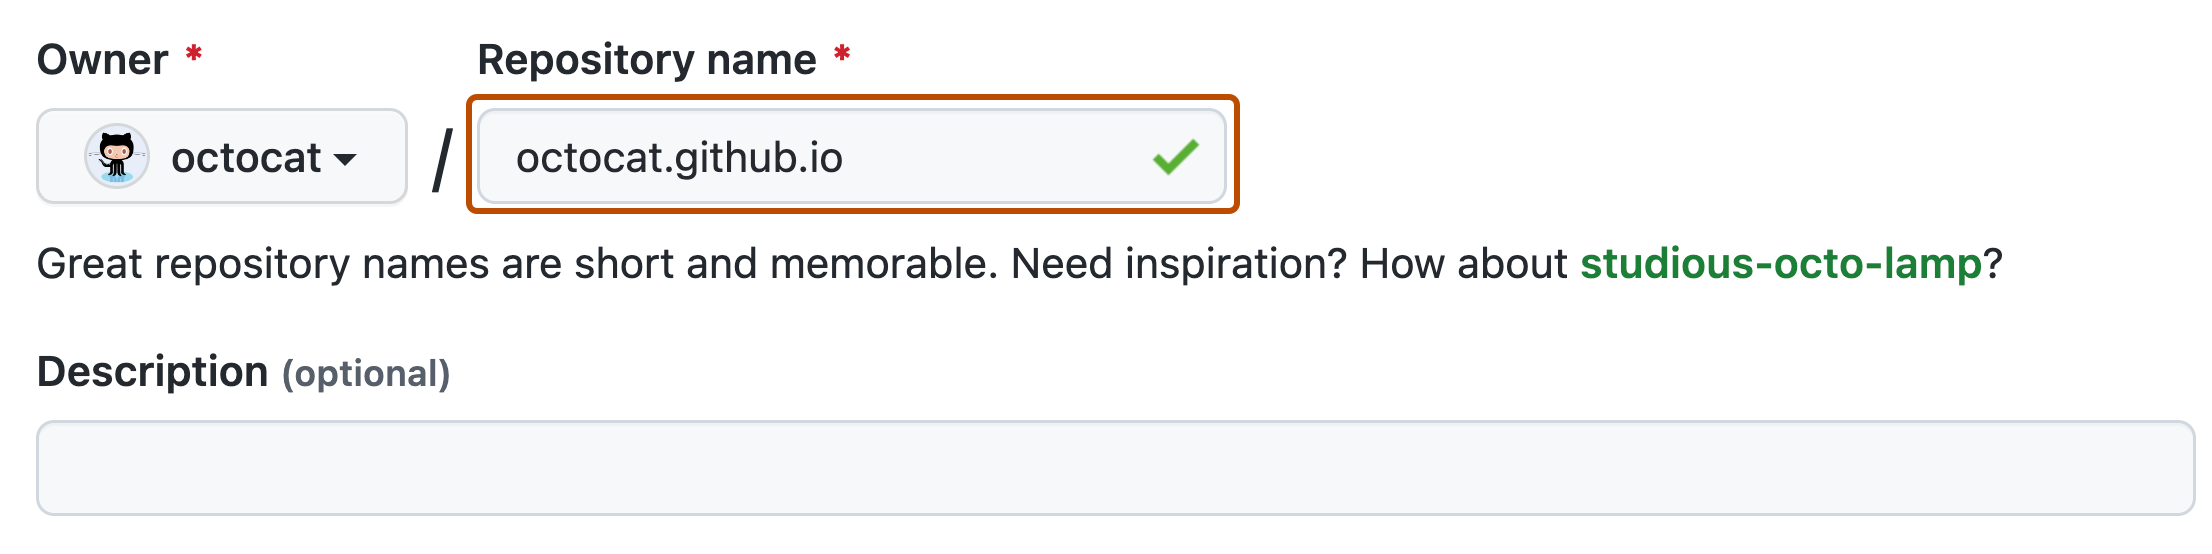
首先创建一个名为 <username>.github.io 的仓库:
新建出来的是一个空的仓库,把它 clone 到本地:
git clone https://github.com/<username>/<username>.github.io
接下来的所有操作都在这个文件夹内进行:
cd <username>.github.io
安装 Zola
使用以下命令安装 Zola。
macOS
brew insall zola
Linux
curl -sL https://github.com/getzola/zola/releases/download/v0.16.0/zola-v0.16.0-x86_64-unknown-linux-gnu.tar.gz | tar xz -C /usr/local/bin
使用 Zola
- 运行命令
zola init进行初始化。 - 根据文档说明进行定制主题、模版。
- 补充正文内容。
- 运行命令
zola serve进行本地预览,在浏览器中打开http://127.0.0.1:1111就可以看到网站了。
配置 Github Actions
请到 Github 仓库的 Settings > Pages 页面,设置 Github Pages 使用 Github Actions 进行构建和部署。

准备 Github Actions 工作流程文件 .github/workflows/build.yml。此工作流程负责构建网站内容并部署到 Github Pages。
name: Deploy website to Pages
on:
  # Runs on pushes targeting the default branch
  push:
    branches: [$default-branch]

  # Allows you to run this workflow manually from the Actions tab
  workflow_dispatch:

# Sets permissions of the GITHUB_TOKEN to allow deployment to GitHub Pages
permissions:
  contents: read
  pages: write
  id-token: write

# Allow one concurrent deployment
concurrency:
  group: "pages"
  cancel-in-progress: true

# Default to bash
defaults:
  run:
    shell: bash

jobs:
  # Build job
  build:
    runs-on: ubuntu-latest
    env:
      ZOLA_VERSION: 0.16.0
    steps:
      - name: Install Zola
        run: |
          curl -sL https://github.com/getzola/zola/releases/download/v${ZOLA_VERSION}/zola-v${ZOLA_VERSION}-x86_64-unknown-linux-gnu.tar.gz | tar xz -C /usr/local/bin
      - name: Checkout
        uses: actions/checkout@v3
        with:
          submodules: recursive
      - name: Build with Zola
        run: zola build
      - name: Upload artifact
        uses: actions/upload-pages-artifact@v1
        with:
          path: ./public

  # Deployment job
  deploy:
    environment:
      name: github-pages
      url: ${{ steps.deployment.outputs.page_url }}
    runs-on: ubuntu-latest
    needs: build
    steps:
      - name: Deploy to GitHub Pages
        id: deployment
        uses: actions/deploy-pages@v1
这个工作流程文件执行两项作业:
- 构建:执行以下四个步骤:
- 下载并安装 Zola。
actions/checkout操作下载仓库的副本。- 执行命令
zola build构建页面文件。 actions/upload-pages-artifact操作将./public目录打包为构件,并上传。
- 部署:
actions/deploy-pages操作将构建作业上传的内容部署到 Github Pages。
推送代码
git add --all
git commit -m "Initial commit"
git push -u origin main
第一次提交代码,会触发运行 Github Actions 的工作流程。等待工作流程运行完成之后,网页会部署到 Github Pages。你的网站可以访问了:https://<username>.github.io。
部署
因为我们的 Github Actions 触发机制使用的是 workflow_dispatch,除了第一次自动触发,以后都是手动触发。有两种方式可以手动触发工作流程。
-
访问仓库的
Actions页面,当有新的代码提交后,可以选择运行工作流程:
-
执行 Github CLI (需要安装)命令:
gh workflow run build.yml
自定义域名
参考文档配置自定义域名的 DNS 记录。
再到 Github 仓库的 Settings > Pages 页面,设置自定义域名。
 比如说我的自定义域名
 qingshan.dev 设置成功后,即可访问:https://qingshan.dev。
总结
我的网站完全按照以上步骤搭建,请访问:qingshan/website 查看源代码。
这次我的网站搭建过程,也是一个很好的学习实践。我学习到了:
- Zola
- Github Pages
- Github Actions